

Blast Chiller Cooling Guide: Safe Cooling Times and HACCP Compliance
Rapid food cooling is one of the most critical and frequently mismanaged steps in commercial kitchen food safety. A blast chiller isn't just a faster fridge — it's the correct tool for complying with Australia's two-stage cooling requirements and protecting customers from bacterial contamination during the cool-down phase. This guide covers how blast chillers work, safe cooling times, the Australian HACCP cooling rules, and how to choose the right unit for your operation.
What Is a Blast Chiller?
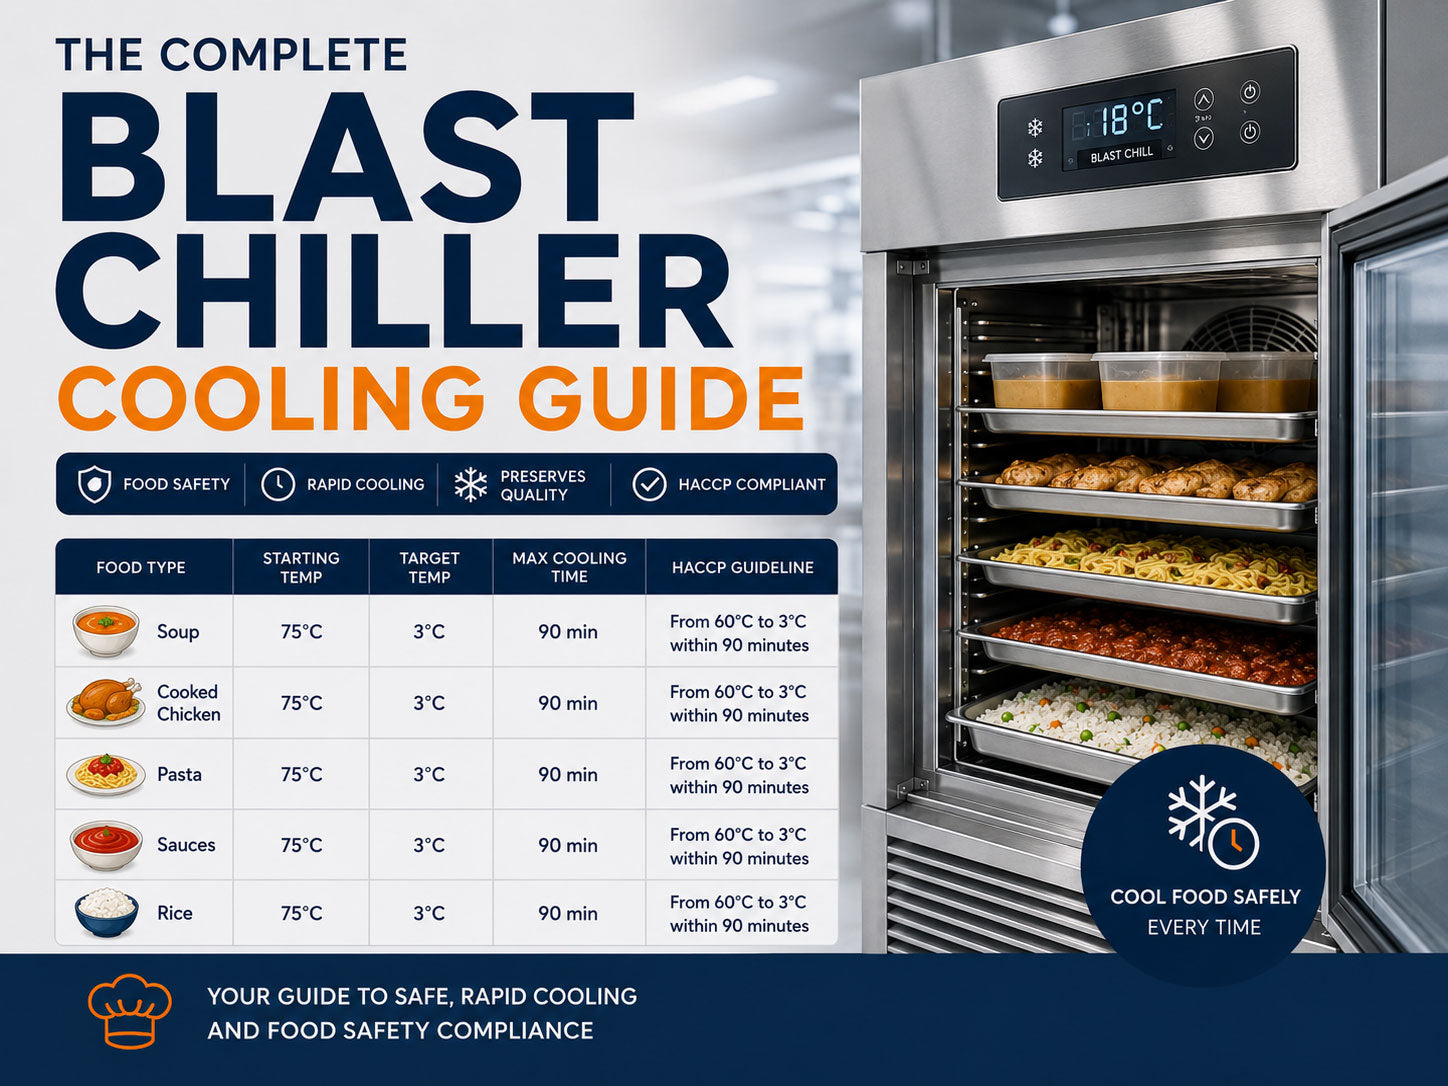
A blast chiller is a commercial refrigeration unit designed to rapidly reduce the core temperature of cooked or hot food. Unlike a standard commercial fridge — which is designed to hold already-cold food at a stable temperature — a blast chiller uses high-velocity chilled air to extract heat from food as quickly as possible.
The key distinction is speed. A standard commercial fridge might take 6–8 hours to bring a large batch of soup from 80°C to below 5°C. During that entire time, the food is passing through the bacterial danger zone. A blast chiller performs the same task in 90 minutes to 2 hours, dramatically reducing bacterial growth risk and extending usable shelf life.
Blast chillers are distinct from blast freezers, which take food to frozen temperatures (-18°C or below). Some units are combination blast chiller/freezers capable of both functions.
Why Rapid Cooling Matters
The bacterial danger zone (5°C to 60°C) is the temperature range where food-poisoning pathogens multiply fastest. When cooked food cools slowly — such as when left in a stockpot to cool at room temperature — it spends hours in this danger zone. During that time:
- Bacillus cereus — A spore-forming bacterium that survives cooking, and germinates and multiplies as food cools. Particularly dangerous in rice, pasta and starchy foods.
- Clostridium perfringens — Thrives in cooked meat and poultry during slow cooling. One of the most common causes of catering-related food poisoning outbreaks in Australia.
- Staphylococcus aureus — Multiplies rapidly between 20°C and 40°C and produces heat-stable toxins that remain dangerous even if the food is reheated.
Beyond safety, blast chilling has significant operational advantages. Food that is blast chilled immediately after cooking retains quality far better than food that cools slowly. Blast chilled product has a longer refrigerated shelf life, reduced moisture loss and better texture retention.
Food Cooling Time Chart
| Food Type / Thickness | Start Temp (approx.) | Target End Temp | Typical Blast Chill Time | Notes |
|---|---|---|---|---|
| Soup / stock / sauce (GN 1/1, 50mm depth) | 85–95°C | 3°C | 60–90 min | Divide large volumes into smaller GN trays for faster chilling |
| Soup / stock (GN 1/1, 100mm depth) | 85–95°C | 3°C | 90–120 min | Stir mid-cycle if unit does not circulate air uniformly |
| Roast chicken (whole, 1.5–2kg) | 80–85°C core | 3°C | 60–90 min | Rest briefly before blast chilling; do not cover tightly |
| Roast beef / lamb (whole joint, 2–3kg) | 70–80°C core | 3°C | 90–120 min | Larger joints may require slicing or portioning before chilling |
| Rice (cooked, GN 1/1, 50mm depth) | 90–95°C | 3°C | 45–60 min | Spread thin; rice holds heat and is high-risk for Bacillus cereus |
| Pasta / noodles (cooked, portioned) | 80–90°C | 3°C | 40–60 min | Lightly oil to prevent clumping; spread in thin layers |
| Casserole / stew (GN 1/1, 65mm) | 85°C | 3°C | 75–100 min | Break into smaller portions; dense stews chill slowly at centre |
| Baked goods — cakes / pastry | 60–75°C | 3°C | 30–50 min | Uncovered on tray; avoid stacking |
| Fish fillets (portioned, 150–200g) | 65–70°C core | 3°C | 20–35 min | Thin product chills quickly; monitor to avoid over-chilling |
| Lasagne / layered bake (GN 1/2, 65mm) | 80–90°C | 3°C | 70–95 min | Dense layered product; portion into smaller cuts for faster chill |
| Mashed potato (GN 1/1, 50mm) | 75–85°C | 3°C | 50–70 min | Dense; spread flat; stir partway through cycle |
| Custard / crème brûlée (individual 150ml) | 70–75°C | 3°C | 25–40 min | Small volume chills quickly; cover once below 10°C to prevent skin |
Times are indicative for a quality commercial blast chiller under normal loading conditions. Actual times will vary by unit capacity, ambient temperature and product load. Always verify with a calibrated core probe thermometer — never assume cooling is complete based on time alone.
HACCP Cooling Rules: Australia's Two-Stage Cooling Requirement
Australia's food safety standards, administered through FSANZ and enforced at state and territory level, require that potentially hazardous cooked food be cooled using a two-stage process:
- Stage 1: Cool from 60°C to 21°C within 2 hours
- Stage 2: Cool from 21°C to 5°C within a further 4 hours
Total maximum time in the danger zone from 60°C to 5°C: 6 hours. If your cooling process cannot achieve this without a blast chiller, it is a food safety non-compliance.
The two-stage structure reflects the bacterial growth curve. Stage 1 (60°C→21°C) is the higher-risk window — this is where the most dangerous rapid multiplication occurs. Stage 2 (21°C→5°C) is less critical but still time-bound because pathogens like Listeria remain active down to near-zero temperatures.
Key points for HACCP documentation of your cooling process:
- Record start and end temperatures and times — A signed time-temperature log for each batch is the standard evidence of compliance.
- Use a calibrated probe thermometer — Insert to the geometric centre (thickest point) of the food. Surface temperature does not indicate core temperature.
- Document corrective actions — If a batch exceeds the cooling time limits, the documented procedure must specify the action taken (e.g., discard or re-evaluate based on food type and actual time-temperature exposure).
- Pre-cooling techniques — Reducing food temperature before blast chilling (e.g., ice baths for soups, portioning large joints) can reduce blast chill cycle time and improve throughput.
Blast Chiller Best Practices
- Never load a blast chiller above rated capacity. Overloading forces the unit to work harder and extends chill times — potentially beyond compliance limits. Check the manufacturer's rated capacity in kg per cycle.
- Use shallow GN trays. Food depth is the single biggest factor affecting chill time. Where possible, spread food to 50mm depth or less. Divide soups, stews and grains into multiple shallow trays rather than one deep container.
- Do not cover food with cling wrap during the active blast chill cycle. Wrapping traps heat and insulates the food. Cover once the target temperature is reached and before transfer to cold storage.
- Allow brief resting before loading where appropriate. For whole roasts and joints, 10–15 minutes resting time allows the core temperature to stabilise before probing. This is not a delay to cooling — begin blast chilling as soon as practically possible after cooking.
- Probe the thickest point. The geometric centre of the product takes the longest to chill. If the probe reads target temperature at the centre, the rest of the product is safe.
- Maintain your blast chiller. Clean coils, functional door seals and correct refrigerant levels all affect chilling performance. Schedule preventive maintenance at least annually.
- Label blast-chilled product immediately. Date, time of completion, and use-by date should be on every container before it goes into cold storage.
Choosing a Blast Chiller
Blast chillers are available in a range of capacities and with different chilling modes. Understanding the options helps you select the right unit for your production volume and menu:
| Feature | Soft Chill | Hard Chill | Blast Freeze |
|---|---|---|---|
| Cabinet temperature | -2°C to +3°C | -20°C to -40°C | -40°C to -50°C |
| Suitable for | Delicate foods: mousse, custard, fish, pastry | Dense foods: roasts, rice, casseroles, bread | Freezing cooked product for long storage |
| Risk of surface damage | Low | Medium (surface may freeze if over-run) | Intentional surface freeze |
| Typical cycle time | Longer (gentler) | Faster | Fastest to freeze temp |
Most quality commercial blast chillers offer both soft and hard chill modes, selectable per cycle. This gives your kitchen flexibility without compromising on food quality.
Capacity considerations: Blast chiller capacity is measured in kg per cycle (not litres). Match capacity to your largest single production batch. A 20-cover restaurant doing batch cooking for service might need a 10–15kg capacity unit. A high-volume catering operation or central production kitchen may require 40kg or larger.
Also consider GN compatibility — ensure the unit accepts the GN tray sizes your kitchen uses, and check tray runner spacing for tall containers.
Shop Blast Chillers at Hospitality Connect
Commercial blast chillers for Australian kitchens — from compact countertop units to high-capacity floor-standing models. HACCP-compliant, GN compatible, with both soft and hard chill modes.
Shop Blast Chillers →

